Media console design: proportions, storage and cable management done right
Six months after it’s installed, a media console usually shows whether it was designed or just bought. The signs are easy to spot: a receiver that runs hot behind a closed door, a power strip visible through the gap at the back, a drawer that can’t hold the game controllers, a remote that doesn’t work unless the door is open. Good media console design prevents all of this, and it does so through three decisions made at the start: the proportions of the piece, the way the interior is organized and the path every cable follows.
Media console proportions: length, height and the rhythm of the front
Length is the first measurement people think about and the one they most often get wrong. A media console should relate to two things at once: the screen above it and the seating in front of it. As a working rule, it should be noticeably wider than the TV and roughly as long as the main sofa, so the two pieces face each other with the same weight. On a wall of 12 feet or more, a console that runs most of the width looks intentional; one that stops in the middle of the wall looks like it was chosen from a catalog.
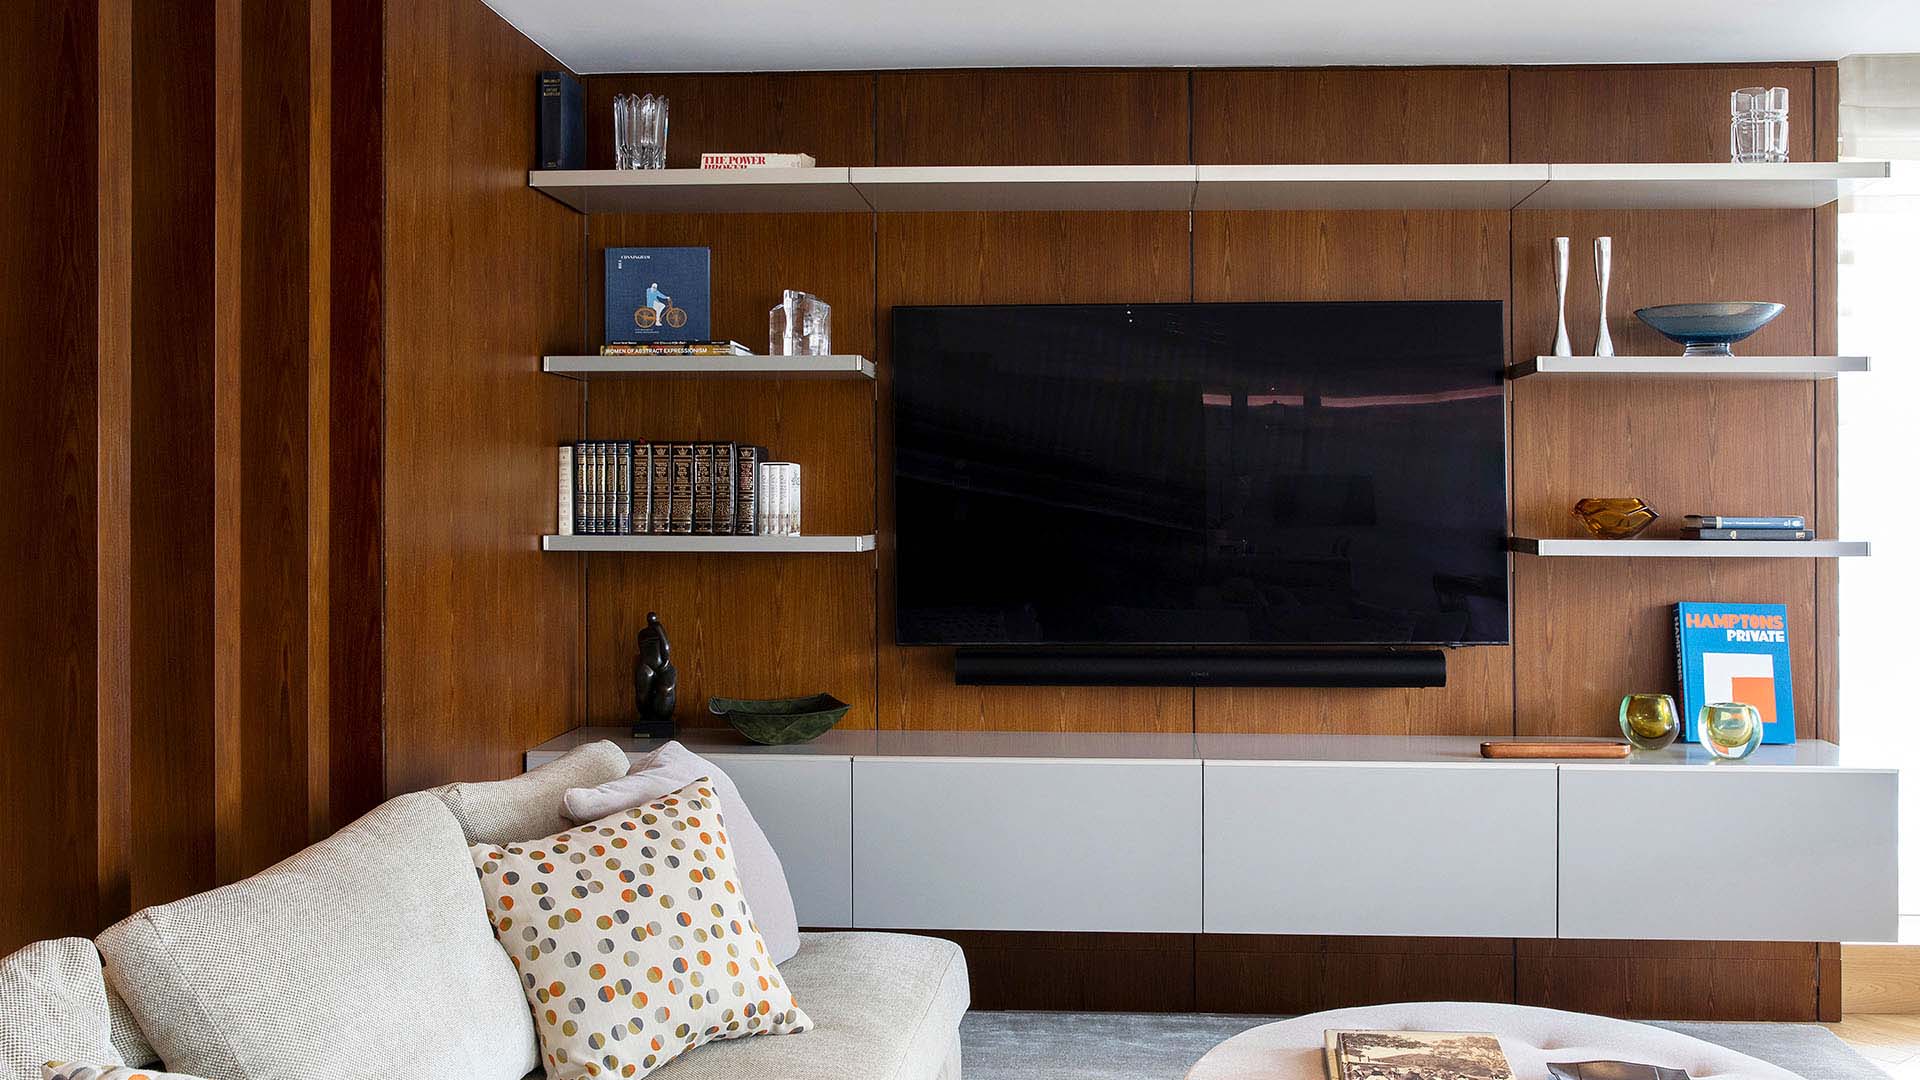
The front is where proportion becomes visible. A modern media console is usually divided into doors, drawers or open compartments, and the way those divisions are arranged gives the piece its rhythm. Equal modules create a calm, regular pattern. A wider central section aligned with the screen, with narrower doors on either side, ties the console to the TV visually. Mixing drawers and doors works best when the division lines continue across the whole front at the same height, rather than stepping up and down from one module to the next.
The base completes the profile. A recessed plinth makes the console feel built in and grounded, slim legs lift it and show more floor, and a wall-mounted unit removes the base altogether. Each choice changes how heavy the piece looks, and it should follow the rest of the room: a plinth suits a wall of built-in storage, legs suit a room of freestanding pieces.
Planning the interior of a media console cabinet around what it holds
The interior of a media console cabinet should be designed around a list, not around standard shelf spacing. A receiver or amplifier is typically 6 to 7 inches tall and up to 17 inches deep, and it needs 2 to 3 inches of free air above it, which means a compartment of at least 9 to 10 inches in height and 18 to 20 inches of total depth. A streaming device or a router needs far less, and can share a smaller compartment, ideally with a ventilated back.
Vinyl is a category of its own. Standard LP sleeves are about 12.4 inches square, so a record compartment needs at least 13 inches of clear height and depth, and a sturdy fixed shelf, because a full row of records is heavier than it looks. A turntable, on the other hand, should sit on the top or on a dedicated pull-out shelf, away from speaker vibration. Shallow drawers of 3 to 4 inches are the right home for remotes, game controllers and chargers, while deeper drawers can hold games, cables and the accessories that otherwise end up on the sofa.
Cable management inside a TV media console
Most cable problems in a TV media console come from treating the cabinet as a closed box. The equipment inside it needs cables coming in, cables going out and a way for a person to reach them years after installation.
Openings, grommets and a rear cable channel
The cleanest solution is a vertical or horizontal cable channel built into the back of the cabinet, a recessed space of 2 to 3 inches that runs behind the compartments and collects every cable before it reaches the wall. Finished grommets in the top and in the shelves let cables pass between compartments without visible cuts, and a single, larger opening in the back aligns with the outlet and the in-wall connection behind the unit. The gap between the console and the wall also helps air circulate, especially when the doors are closed.
Power, surge protection and service access
A surge-protected power strip should have a fixed place inside the console, mounted to a side panel or to the back, where it stays dry, ventilated and reachable without moving the console. Removable back panels or a service hatch make it possible to add or replace a device without dismantling anything. Labeling cables at both ends takes ten minutes during installation and saves an hour every time something changes.
Low media console or taller unit: choosing the right profile
A low media console, between 16 and 20 inches high, suits rooms with very large screens, low seating or a wall where the console runs beneath a window. It keeps the composition horizontal and lets the screen dominate. A taller unit, closer to 26 or 30 inches, offers more storage per linear foot and works better when the console has to hold a lot in a shorter length, or when the TV is placed on the top rather than mounted on the wall. The choice should follow the height of the seating: the lower the sofa, the lower the console can go without the screen ending up too high.
How Ornare approaches the media console as part of the wall
Ornare designs the media console together with the wall around it, so length, divisions and depth are drawn to the actual measurements of the room, and the cable channel, the ventilation and the service access are part of the structure from the first drawing.
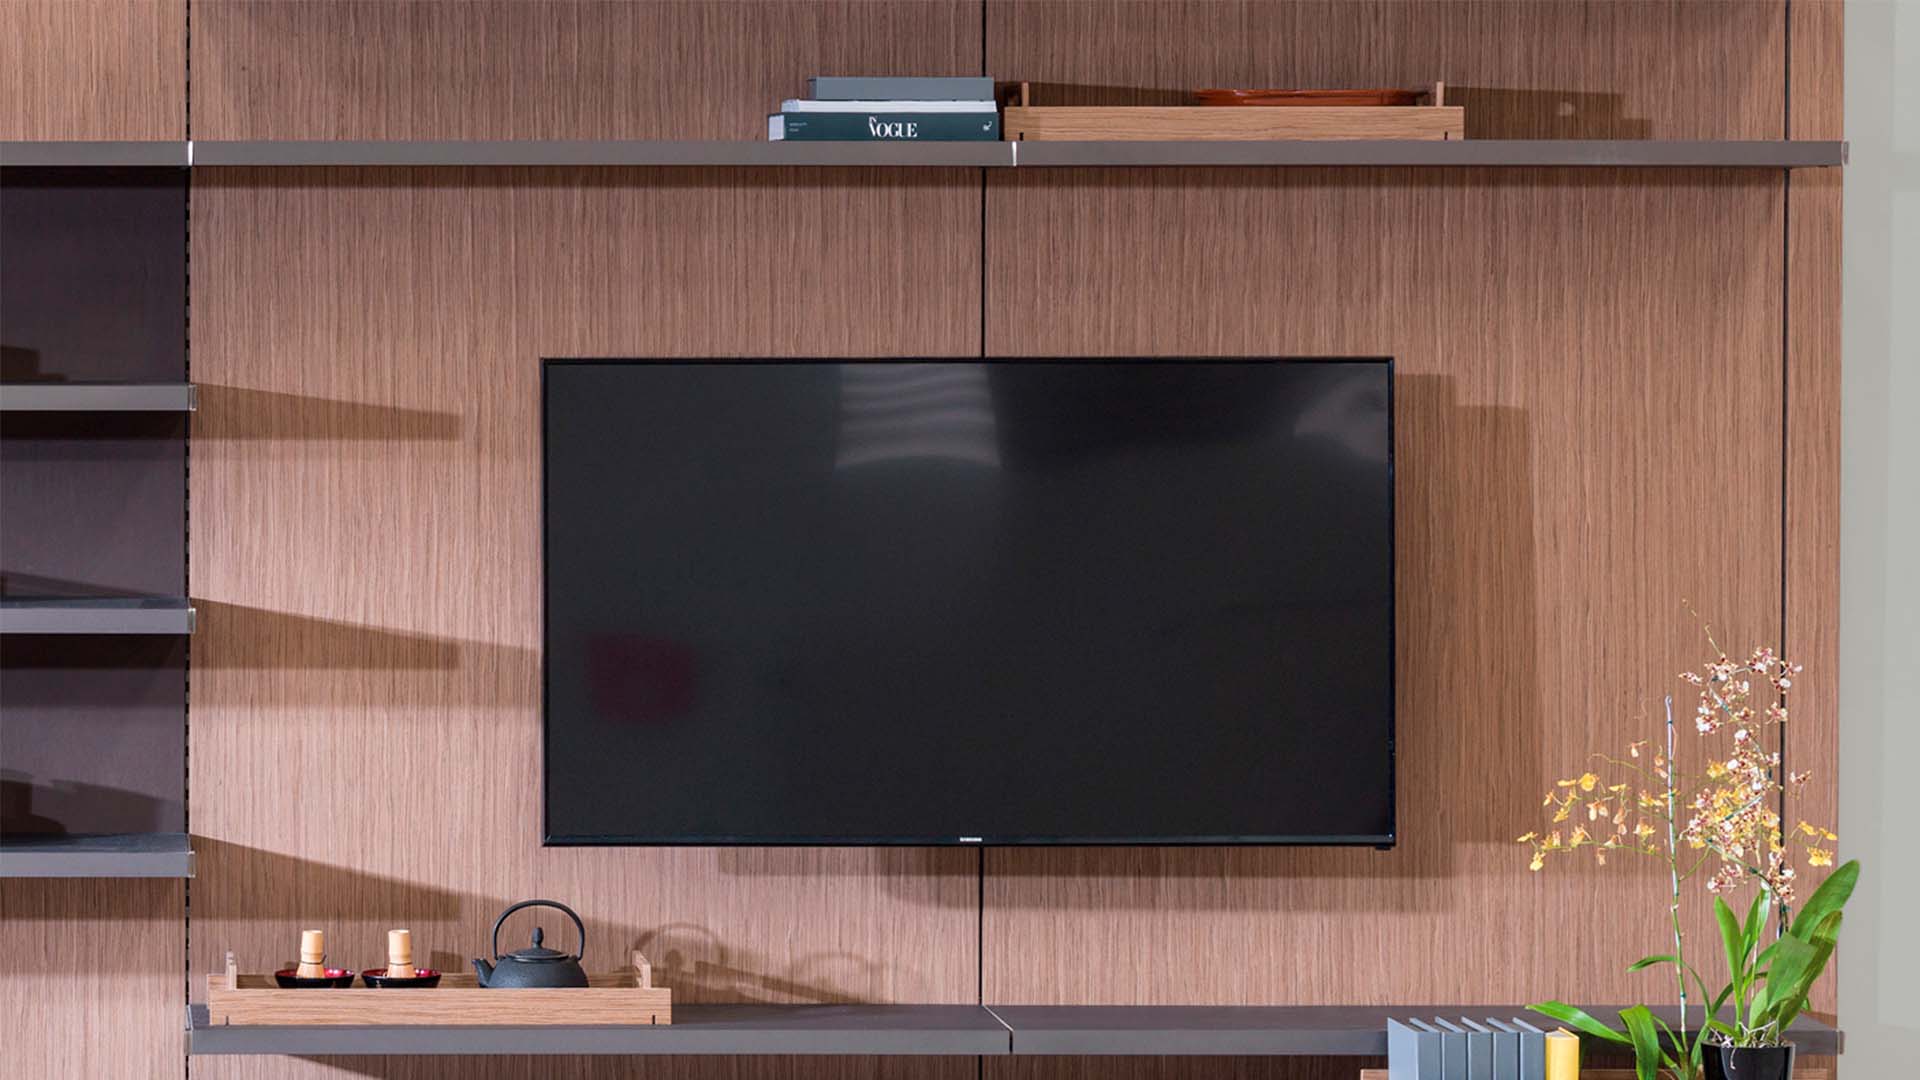
The style of the room decides the direction. In a warm, classic interior, Ornare’s Timeless line uses solid wood and natural leather, with modules that combine doors, drawers, niches and worktops, which makes it natural to build a console with the right mix of closed and open compartments. In a contemporary room where the wall above should stay light, Ikigai pairs slim vertical metal profiles with LED-lit shelves that can be closed with wooden sliding panels. And where the console should become one element of a larger surface, Square Wall combines vertical and horizontal panels, steel square shelves and integrated cabinetry elements into a single composition.
Whatever the style, there is one simple test to apply before approving a design: imagine the console fully loaded and ask whether every device can be reached, unplugged and replaced without moving the cabinet or taking anything else out. If the answer is yes, the console will still work as well in ten years as on the day it was installed.